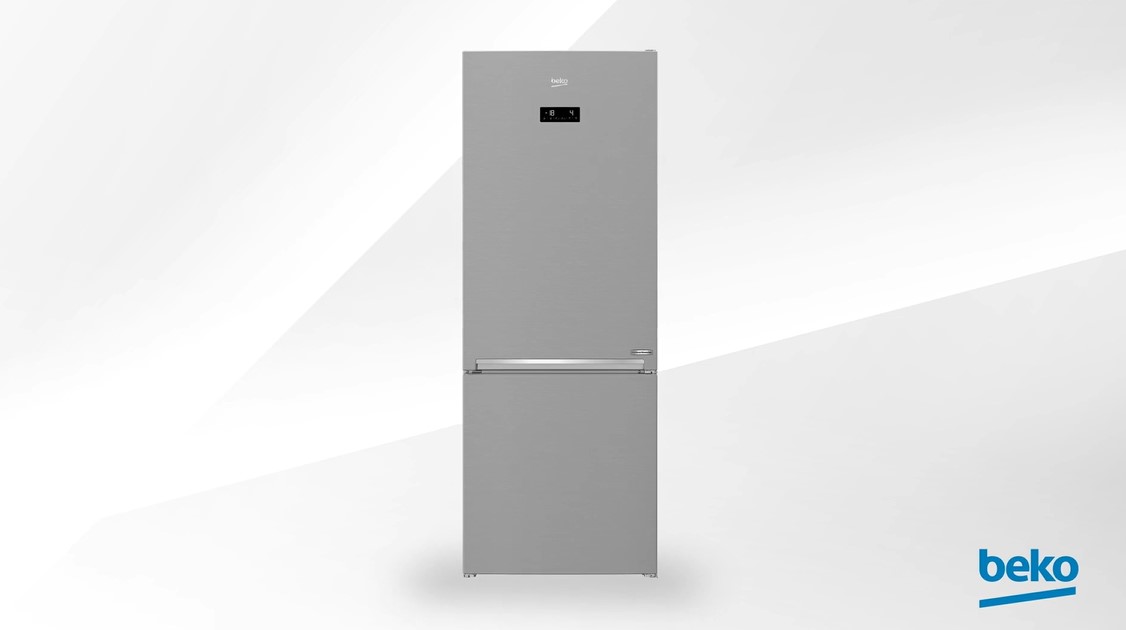
How to Clean Your Refrigerator for the First Time
Cleaning your refrigerator for the first time is a crucial step to ensure it stays hygienic and
functions efficiently. A clean refrigerator keeps your food fresh and prevents the buildup of
bacteria, allowing you to maintain a safe and organized kitchen environment. Here’s a
step-by-step guide based on Beko’s recommendations for how to clean your new
refrigerator.
Step 1: Preparation
Since your refrigerator is new and likely empty, you’ll only need to gather a few cleaning
supplies:
● A soft, damp cloth
● Mild detergent or a cleaning solution specifically designed for appliances
● A sponge
Step 2: Clean the Shelves and Drawers
Even though the refrigerator is new, the shelves and drawers may have gathered dust or
packaging residue. Remove all shelves, drawers, and other removable parts. Clean them
with a mixture of mild detergent and warm water. Be sure to avoid using abrasive cleaners
that could damage the surfaces. Once cleaned, rinse with water and dry thoroughly before
placing them back in the refrigerator.
Step 3: Wipe Down the Interior
Use a damp soft cloth to wipe down the inside walls, ceiling, and base of the refrigerator.
Pay special attention to corners and edges where dust may have settled during transport.
Make sure the interior is thoroughly cleaned and free from any residue.
Step 4: Clean the Gasket
The rubber seal (gasket) around the door is essential for maintaining the refrigerator’s
temperature. Wipe it down with a soft, damp cloth to remove any dust or dirt that may have
collected during shipping.
Step 5: Clean the Exterior
For the exterior, use a damp cloth to wipe down the doors and handles. If your refrigerator
has a stainless steel finish, you can use a stainless-steel cleaner to give it a polished look.
Be sure to clean the door handles thoroughly, as they are frequently touched.
Step 6: Reassemble and Organize
Once the interior and all components are clean and dry, place the shelves and drawers
back in their positions. Since your refrigerator is new and empty, now is a great time to plan
how to organize your food once you start stocking it. Proper organization can help keep
food fresh and make it easier to manage.
Step 7: Plug It In and Set the Temperature
After ensuring that everything is clean and in place, plug your refrigerator into the power
outlet. Set it to the recommended temperature and allow it to cool down before adding any
food.
By following these steps, you’ll ensure that your new refrigerator is set up for long-term
efficiency and cleanliness, supporting a healthier kitchen and lifestyle from day one.


